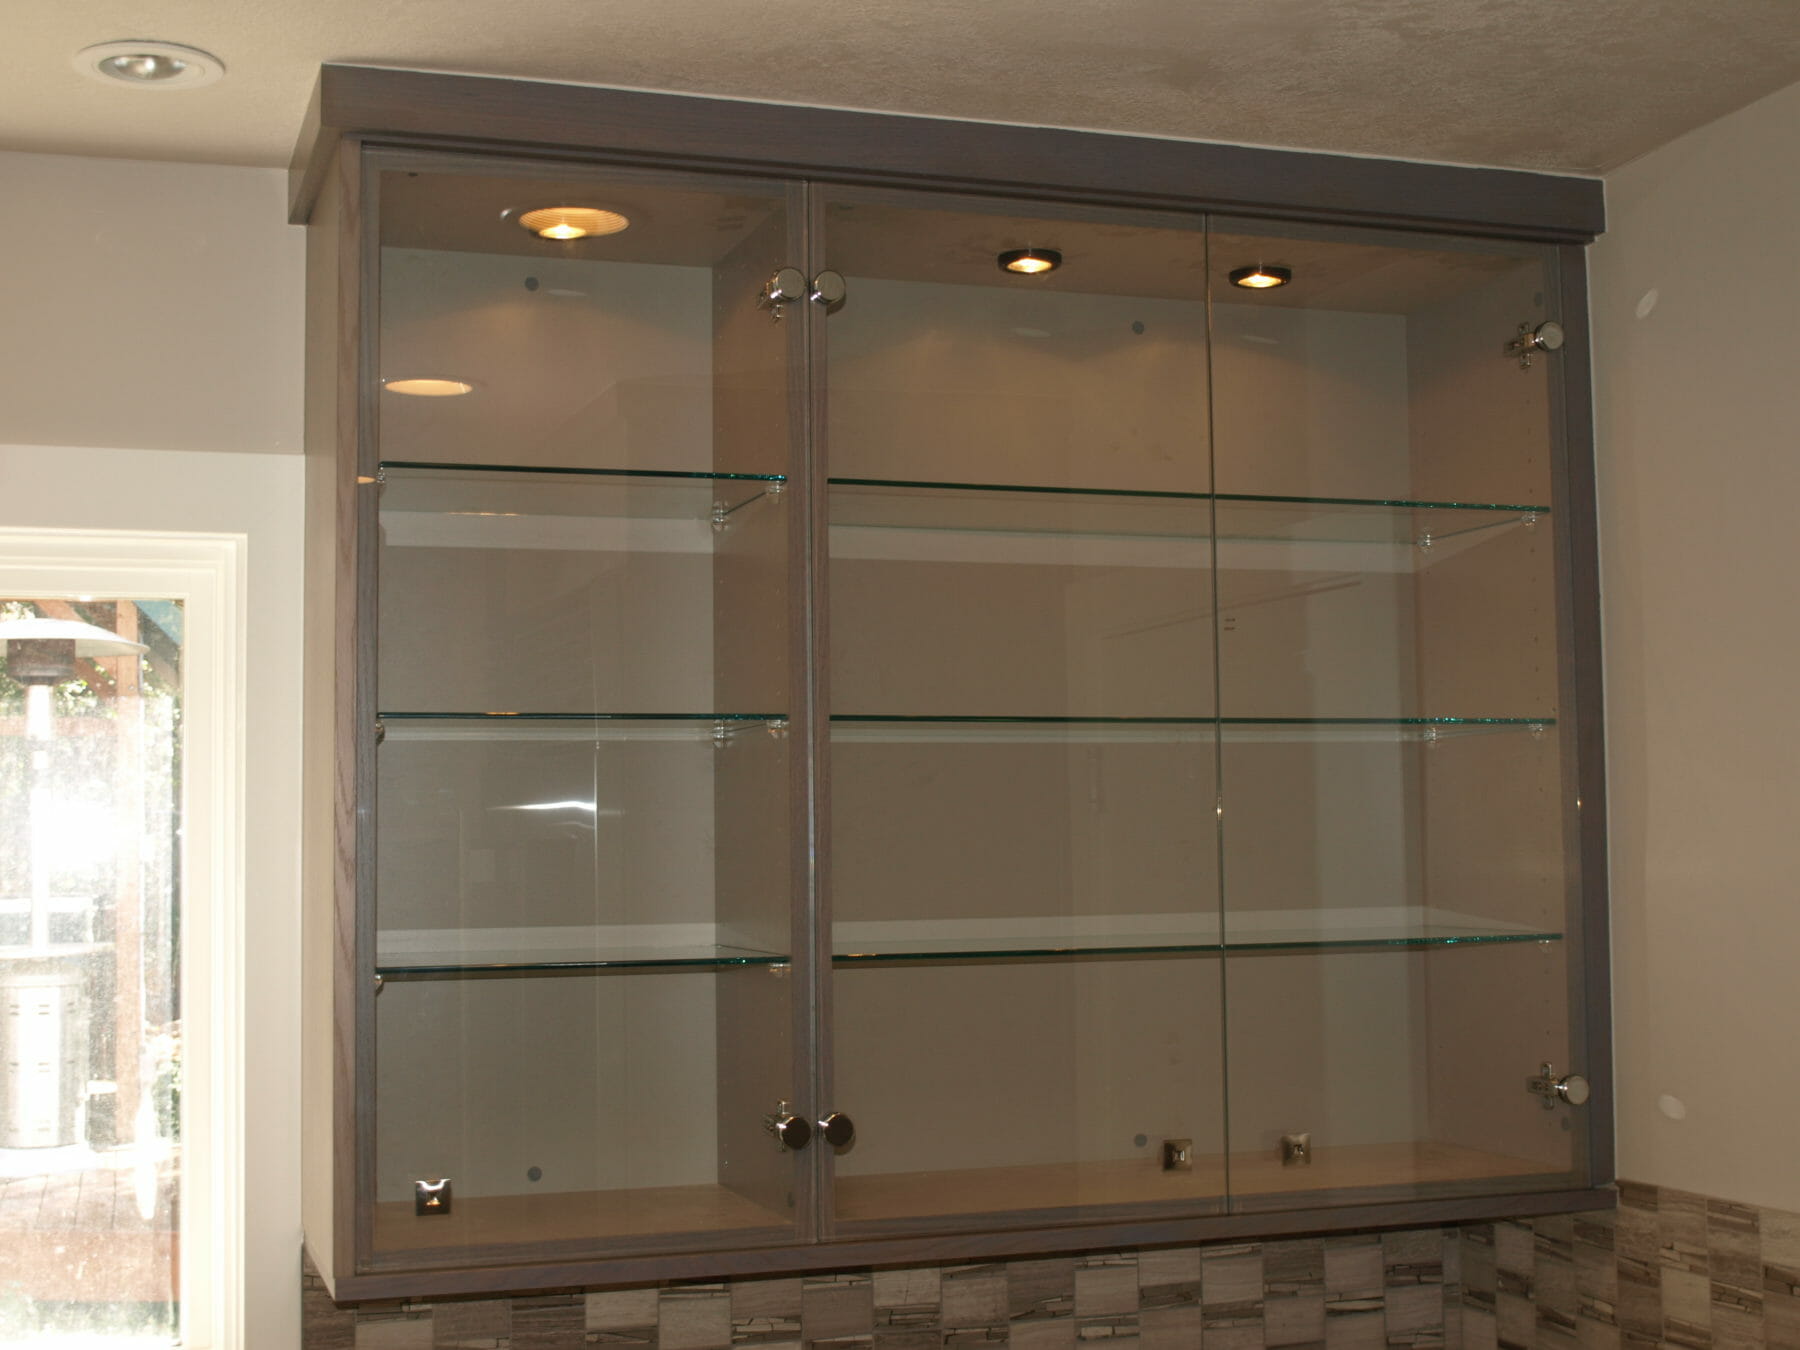
Planning and Preparation for Glass Shelf Installation

Embarking on a glass shelf installation project requires meticulous planning and preparation to ensure a safe and successful outcome. Careful measurement, selection of appropriate materials, and understanding the weight capacity of your chosen glass are paramount to avoid accidents and ensure the longevity of your beautiful new shelves. Let’s delve into the specifics.
Necessary Tools and Materials
Before you begin, gather the essential tools and materials. This will streamline the process and prevent frustrating interruptions. You’ll need a measuring tape, level, pencil, drill (with appropriate drill bits for your chosen shelf supports), screwdriver, safety glasses, glass cleaner, protective edge sealant (such as silicone caulk or glass edge tape), and of course, your glass shelves and chosen shelf support system (clips, brackets, or pins). For securing the supports, you’ll likely need small screws; the size and type will depend on your cabinet material and the support system you’ve selected. Consider using stainless steel screws to prevent rust and corrosion. For heavier shelves, a strong adhesive may be used in conjunction with mechanical fasteners for added security.
Measuring and Marking the Cabinet
Precise measurements are the cornerstone of a successful installation. Begin by carefully measuring the interior width and depth of your cabinet. This will determine the maximum size of your glass shelf. Next, decide on the desired height for each shelf. Consider the items you plan to store on each shelf to determine appropriate spacing and weight capacity. Remember, leaving sufficient space between shelves ensures easy access and prevents items from being overcrowded. Using a level, mark the desired shelf positions on the cabinet sides with a pencil. Ensure the markings are level to guarantee a perfectly straight shelf. Always account for the thickness of the shelf supports when making your measurements to ensure the shelf sits flush. For example, if your shelf support is 1/2 inch thick, adjust your marking accordingly.
Preparing the Glass Shelves
Handling glass requires care and attention to prevent breakage or injury. Always wear safety glasses. Begin by thoroughly cleaning the glass shelves with a glass cleaner and a soft cloth. Remove any dust, fingerprints, or smudges. This ensures a clean and secure bond if you are using adhesive. After cleaning, apply a protective edge sealant to the cut edges of the glass shelves. This prevents chipping and provides a finished, polished look. Allow the sealant to dry completely before proceeding with the installation. This step is crucial, especially for shelves that will hold heavier items, as it adds a layer of protection against damage and potential injury.
Comparison of Glass Shelf Support Systems
Choosing the right support system is crucial for both aesthetics and functionality. The table below compares various options:
| Support Type | Material | Installation Difficulty | Weight Capacity |
|---|---|---|---|
| Clips | Metal (various finishes available) | Easy | Medium |
| Brackets | Metal, Wood | Medium | High |
| Pins/Dowels | Metal, Wood | Easy to Medium | Medium to High (depending on design) |
Safety Precautions and Finishing Touches: Installing Glass Shelves In Cabinets

Installing glass shelves adds a touch of elegance to any cabinet, but safety must always be the top priority. Careful handling and attention to detail throughout the process will ensure a beautiful and secure result. This section focuses on the crucial safety measures and finishing touches that will elevate your project from good to exceptional.
Handling Glass Safely, Installing glass shelves in cabinets
Glass, while beautiful, is inherently fragile. To prevent cuts and breakage, always wear protective gloves—thick work gloves offer excellent protection. When transporting glass sheets, use a dedicated glass carrier or support the sheet from underneath with at least two hands, ensuring even weight distribution to avoid bending or stressing the glass. Never slide glass across surfaces; lifting and placing are always the safest methods. If the glass is too large to handle alone, enlist help to avoid accidental drops. Inspect the glass carefully before installation for any chips or cracks; damaged glass should never be used. If cutting the glass is necessary, use a professional glass cutter and appropriate safety equipment, including eye protection.
Cleaning Up After Installation
Once the shelves are installed, carefully clean up the work area. Dispose of any broken glass fragments immediately and safely. Wrap the fragments in several layers of thick paper or cardboard before placing them in a sturdy container to prevent accidental cuts during disposal. Follow local regulations for disposing of sharp materials. Sweep up any dust or debris from the cabinet and wipe down the shelves with a glass cleaner to remove any fingerprints or smudges. Proper cleanup is essential not only for safety but also for preserving the newly installed shelves’ pristine appearance.
Enhancing the Appearance of Glass Shelves
Adding decorative elements can significantly enhance the visual appeal of your newly installed glass shelves. Consider applying decorative edging to the shelves’ edges. This can be achieved using metal edging strips, which are available in various finishes, such as brushed nickel, polished chrome, or antique brass. These strips not only protect the edges of the glass but also add a touch of sophistication. Another option is to add a decorative backing to the shelves. This can be a simple piece of mirrored glass, frosted glass, or even a patterned wallpaper that complements your cabinet’s style. This backing not only adds visual interest but also conceals any imperfections or blemishes behind the glass. Remember to carefully measure and cut any decorative elements to ensure a precise and professional fit.
